Window
The Window class in represents a window in a Windows application. It provides a rich set of features to manage and interact with the window, such as handling its content, appearance, and behavior. This document covers the essential aspects of the Window class, including its properties, methods, and events.
-
Class: System.Windows.Window
-
Inheritance: Object → (...) → Control → ContentControl → Window
Examples
Create a basic window
You can create a basic window by using the Window class. By default, there's a main window called MainWindow.xaml when you create a WPF project with Visual Studio. Mostly we use this window as the main window of the application. You can also add more windows to the project with the following steps.
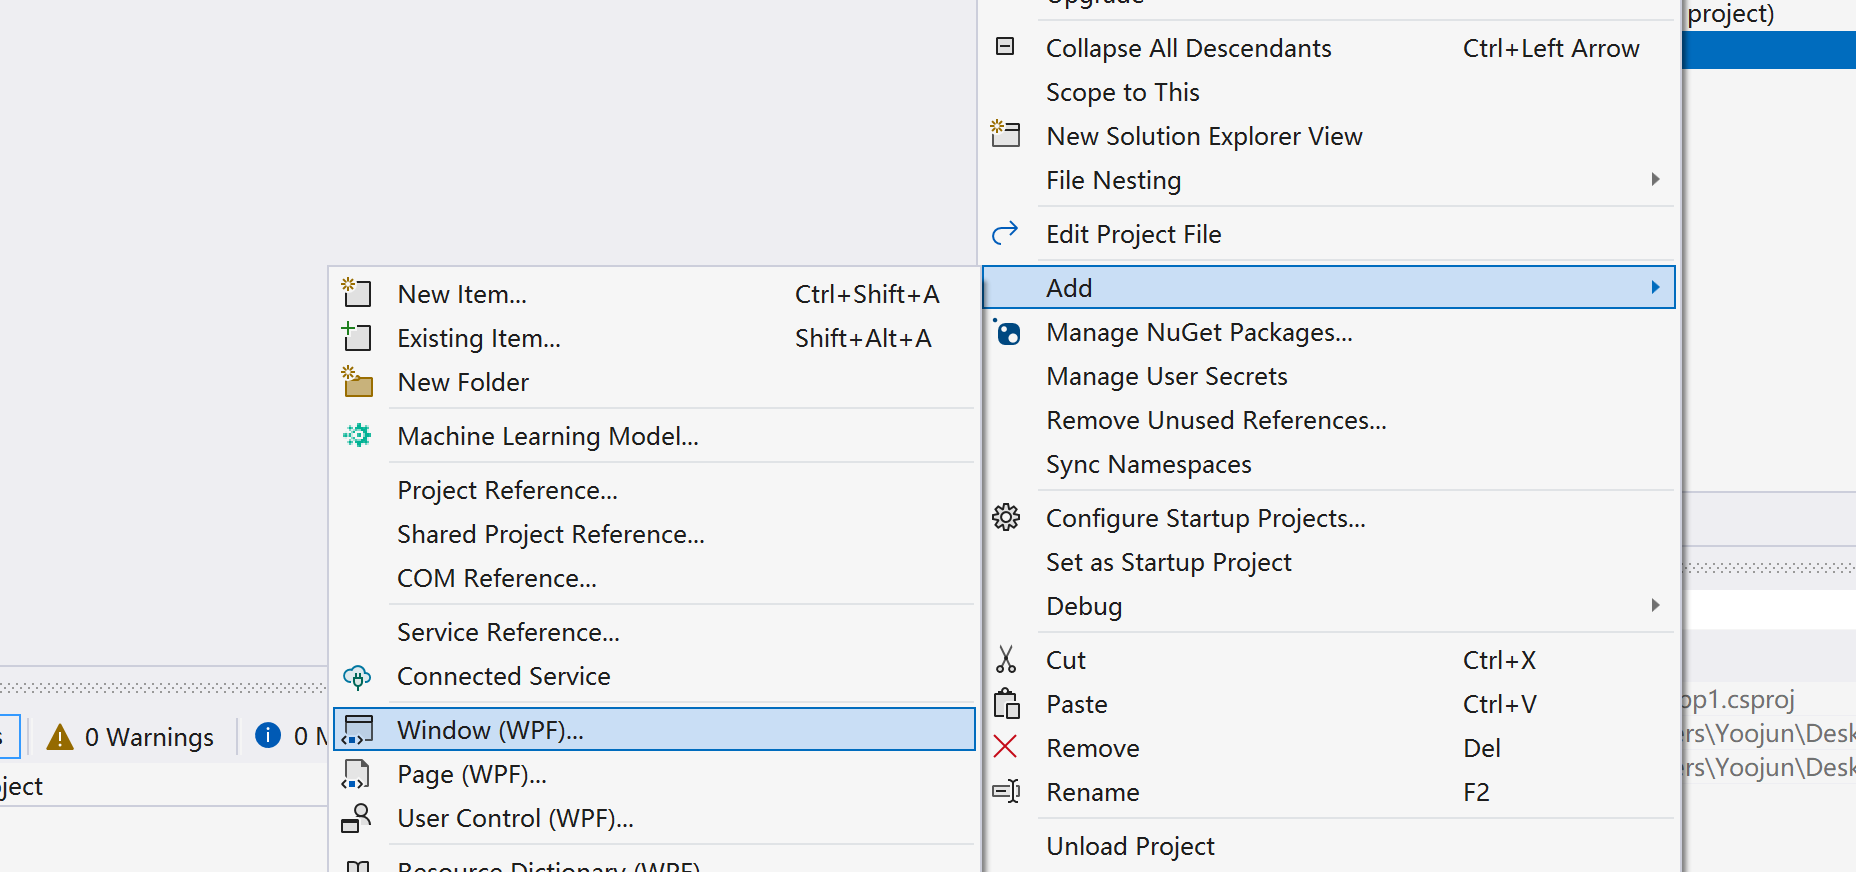
First, create a new window by right-clicking the project in Solution Explorer, selecting Add > New Item, and then selecting Window (WPF) from the list. Name the new window MyWindow.xaml.
Then, you can open the new window by creating an instance of it and calling the Show method. Here's an example of how to open the new window:
var myWindow = new MyWindow();
myWindow.Show();
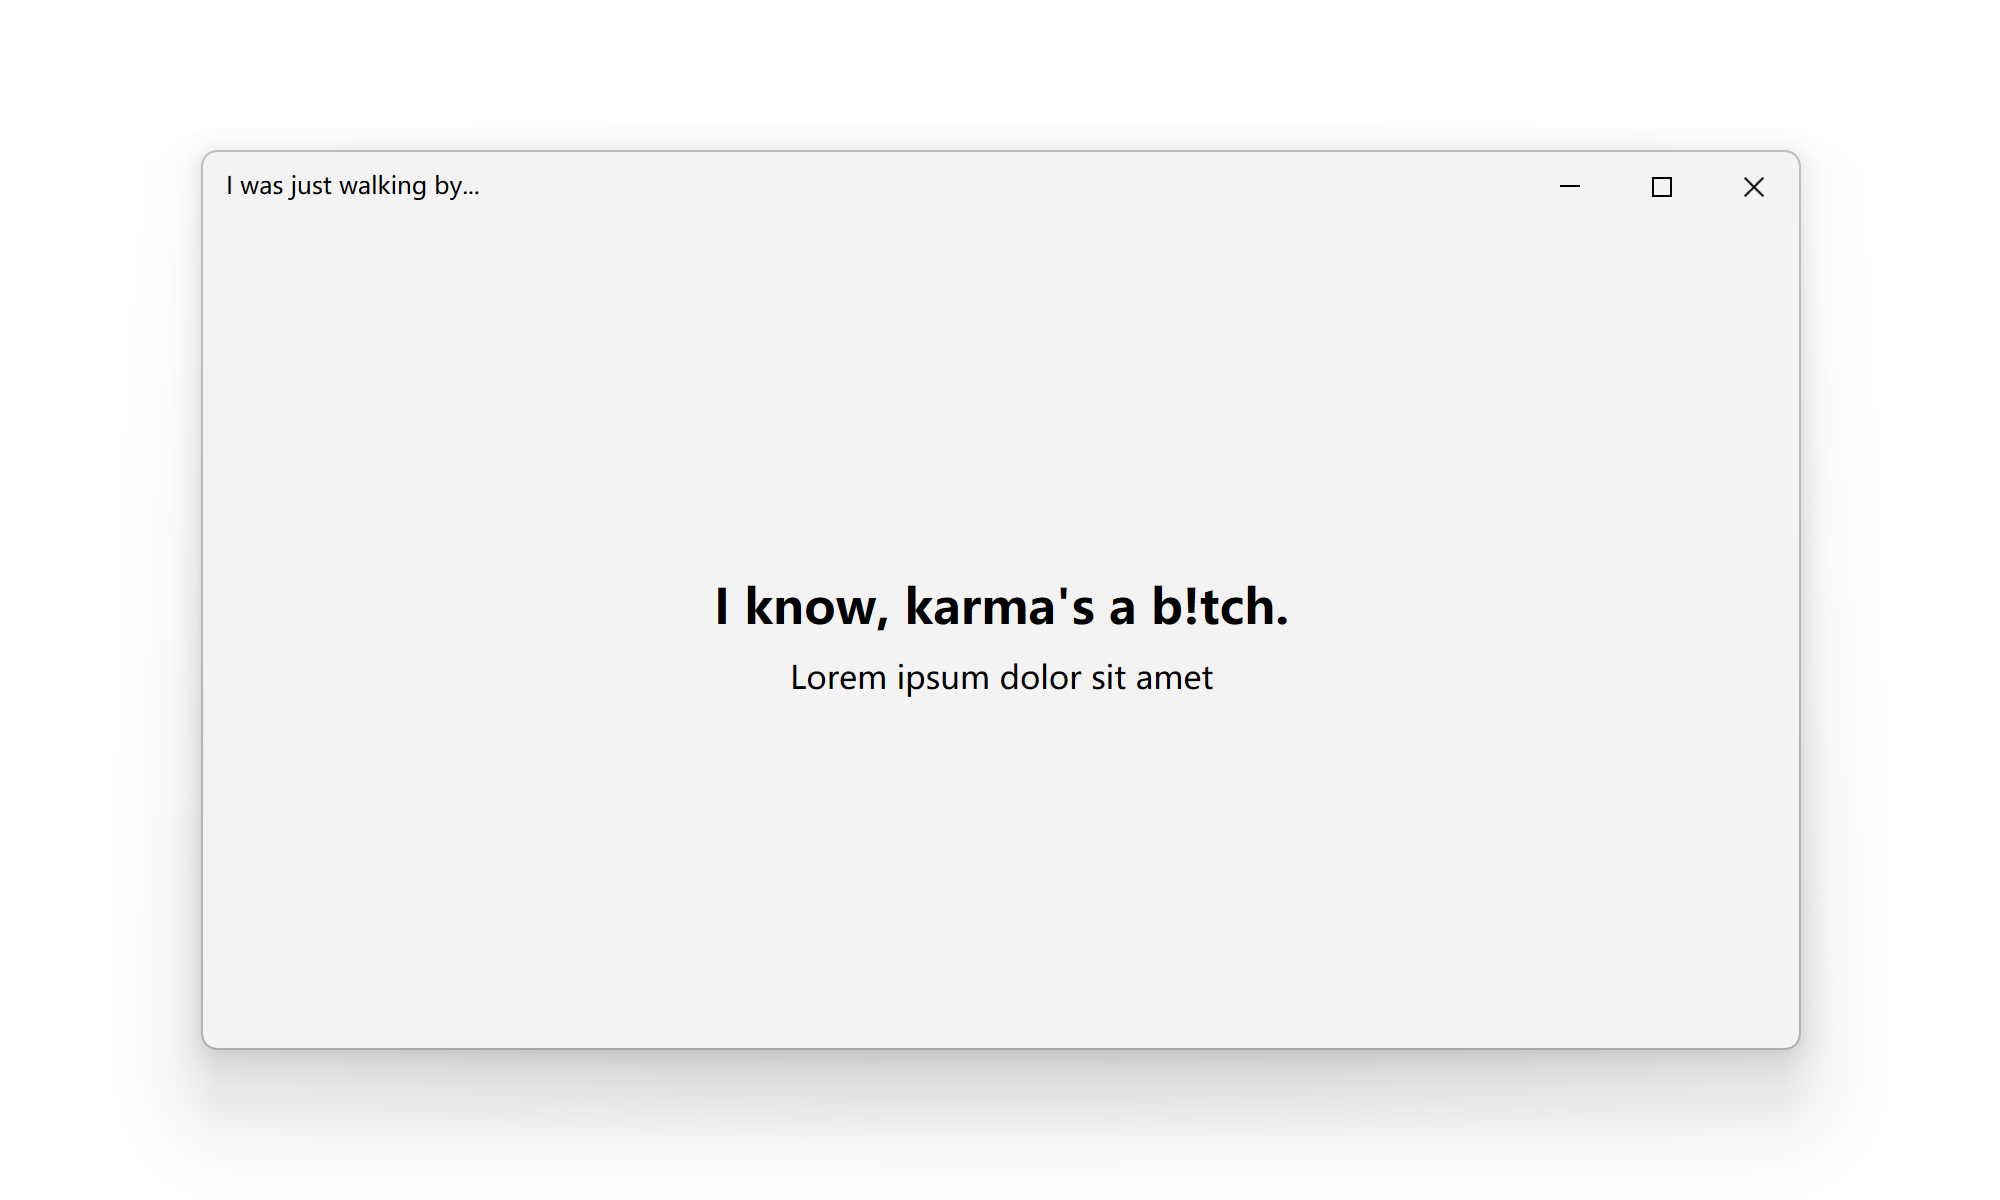
Apply modern styles
The window is always using the default style and native frames unless you apply the modern styles manually. With ui:WindowHelper.UseModernWindowStyle property, you can easily apply modern style to a window like this:
<Window x:Class="WpfApp1.MainWindow"
        xmlns="http://schemas.microsoft.com/winfx/2006/xaml/presentation"
        xmlns:x="http://schemas.microsoft.com/winfx/2006/xaml"
        xmlns:d="http://schemas.microsoft.com/expression/blend/2008"
        xmlns:mc="http://schemas.openxmlformats.org/markup-compatibility/2006"
        xmlns:ui="http://schemas.inkore.net/lib/ui/wpf/modern"
        xmlns:local="clr-namespace:WpfApp1"
        mc:Ignorable="d"
        ui:WindowHelper.UseModernWindowStyle="True"
        ui:WindowHelper.CornerStyle="Round"
        Title="I was just walking by..." Height="450" Width="800" WindowStartupLocation="CenterScreen">
    <ui:SimpleStackPanel HorizontalAlignment="Center" VerticalAlignment="Center" Spacing="10">
        <TextBlock Text="I know, karma's a b!tch." HorizontalAlignment="Center" FontSize="24" FontWeight="Bold"/>
        <TextBlock Text="Lorem ipsum dolor sit amet" FontSize="16" HorizontalAlignment="Center"/>
    </ui:SimpleStackPanel>
</Window>
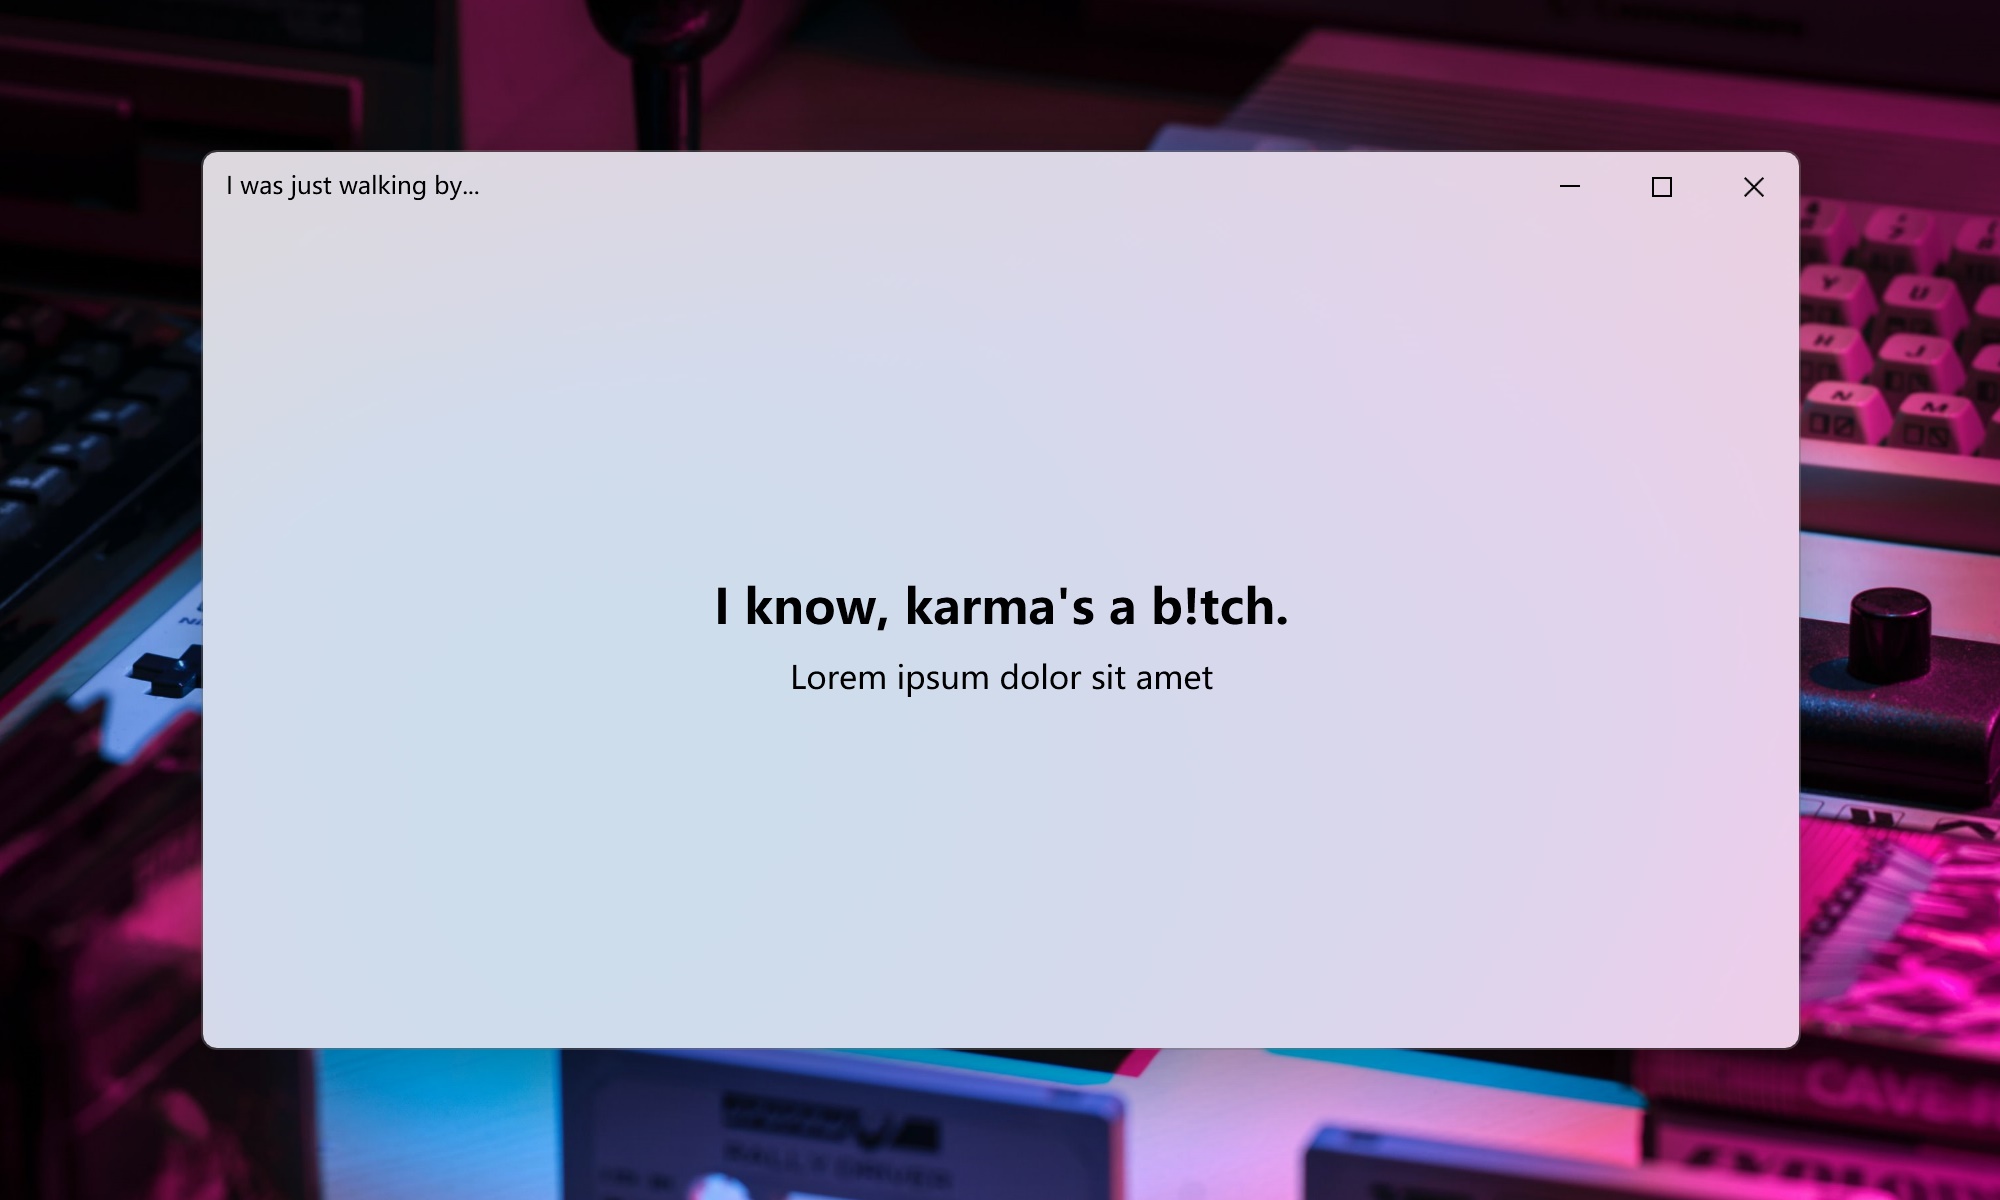
System backdrops
Since Windows 10, there are a few system-level backdrops that can be applied to the window. You can use ui:WindowHelper.SystemBackdrop property to apply the backdrop. For example, you can apply the mica effect with the following code:
ui:WindowHelper.SystemBackdropType="Mica"
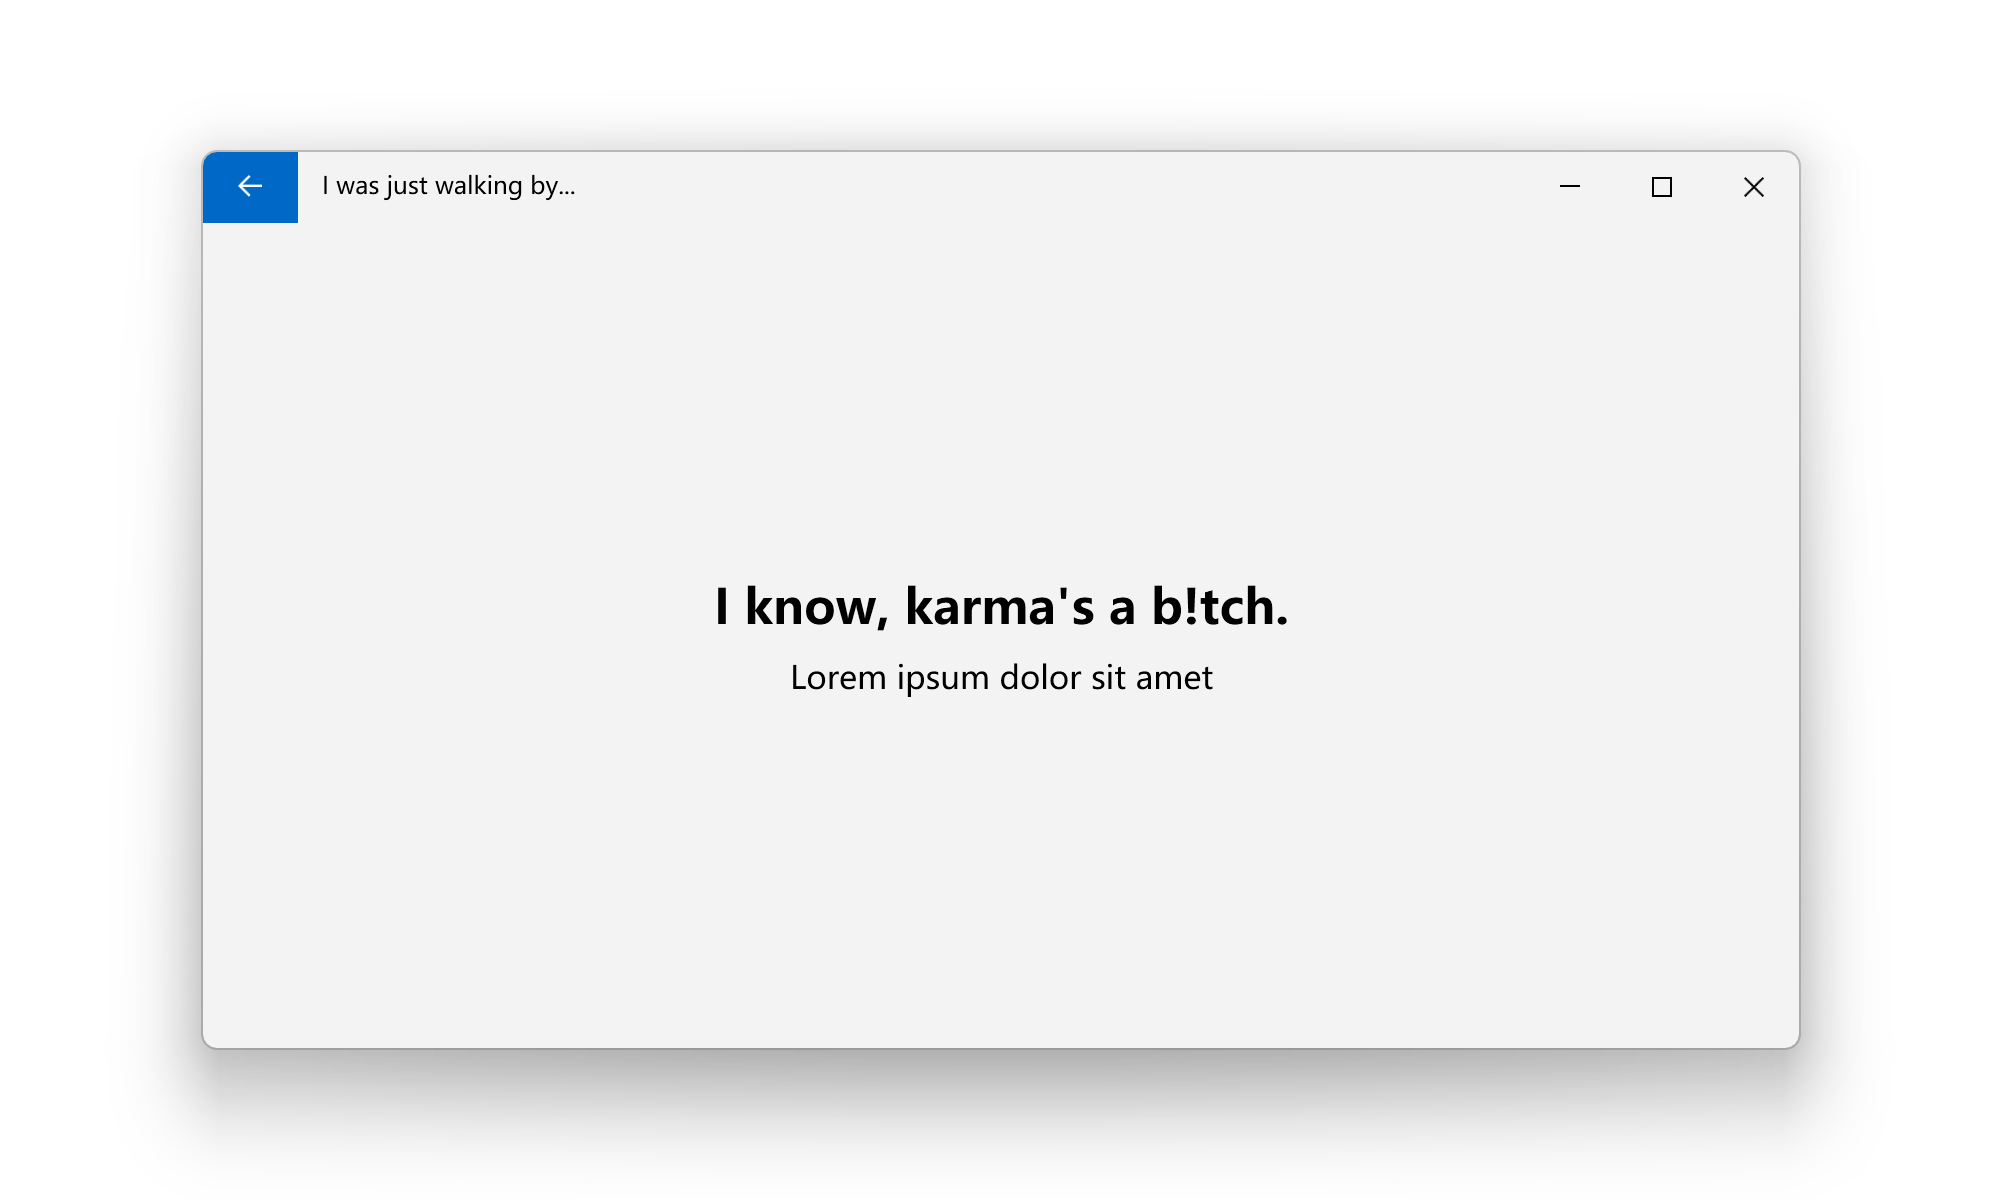
Back button in title bar
You can use the ui:TitleBar.IsBackButtonVisible and ui:TitleBar.IsBackEnabled properties to show and enable the back button in the title bar. The back button is useful when you want to navigate back to the previous window or page.
First, make sure the back button feature is enabled in the window:
ui:TitleBar.IsBackButtonVisible="True"
ui:TitleBar.IsBackEnabled="True"
Then when you run, you may see there's a back button in the title bar. Next, you can handle the click event of the back button with ui:TitleBar.BackButtonCommand. For more infomation about the commands, please click here.
The complete code should look like this:
<Window x:Class="WpfApp1.MainWindow"
        xmlns="http://schemas.microsoft.com/winfx/2006/xaml/presentation"
        xmlns:x="http://schemas.microsoft.com/winfx/2006/xaml"
        xmlns:d="http://schemas.microsoft.com/expression/blend/2008"
        xmlns:mc="http://schemas.openxmlformats.org/markup-compatibility/2006"
        xmlns:ui="http://schemas.inkore.net/lib/ui/wpf/modern"
        xmlns:local="clr-namespace:WpfApp1"
        mc:Ignorable="d"
        ui:WindowHelper.UseModernWindowStyle="True"
        ui:TitleBar.IsBackButtonVisible="True"
        ui:TitleBar.IsBackEnabled="True"
        ui:TitleBar.BackButtonCommand="{x:Static local:MainWindow.BackCommand}"
        Title="I was just walking by..." Height="450" Width="800" WindowStartupLocation="CenterScreen">
    <ui:SimpleStackPanel HorizontalAlignment="Center" VerticalAlignment="Center" Spacing="10">
        <TextBlock Text="I know, karma's a b!tch." HorizontalAlignment="Center" FontSize="24" FontWeight="Bold"/>
        <TextBlock Text="Lorem ipsum dolor sit amet" FontSize="16" HorizontalAlignment="Center"/>
    </ui:SimpleStackPanel>
</Window>
public partial class MainWindow : Window
{
    public MainWindow()
    {
        InitializeComponent();
        this.CommandBindings.Add(new CommandBinding(BackCommand, BackCommand_Executed));
    }

    public static readonly RoutedUICommand BackCommand = new RoutedUICommand("Back button clicked", "Back", typeof(MainWindow));

    private void BackCommand_Executed(object sender, ExecutedRoutedEventArgs e)
    {
        // Do someting when the back button is clicked
        MessageBox.Show("Back button is clicked!");
    }
}
When clicking the back button, you may see the expected message box coming up. You can replace the message box with your own logic to navigate back to the previous window or page.
You can also use the other properties with the keyword Back or BackButton in the ui:TitleBar class to do more customizations to the back button.
Remarks
Managed Properties
To provide the best look and feel, we need to take over the WindowChrome of the window to change it with your needs. So after applying the modern styles, You may NOT modify the WindowChrome of the window directly, for the same reason, you may NOT modify the following properties as well:
-
WindowChrome.WindowChrome
-
FrameworkElement.Style
If you modify the properties listed above, the modern styles and backdrop might be broken, and the window may not look as expected or even crash.
Maximize fixer
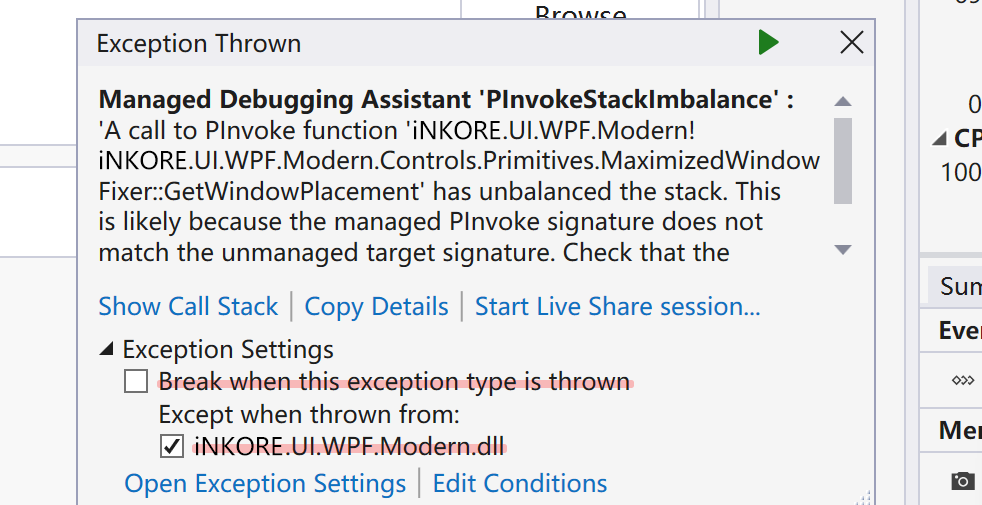
As we have fully customized the window for modern styles, the default maximize behavior of the window may not work as expected. But no worries, we have got a way to fix this issue and make the window maximize as expected. However, this fix may cause an exception as follow:
Managed Debugging Assistant: A call to PInvoke function 'iNKORE.UI.WPF.Modern!iNKORE.UI.WPF.Modern.Controls.Primitives.MaximizedWindowFixer::GetWindowPlacement' has unbalanced the stack. This is likely because the managed PInvoke signature does not match the unmanaged target signature. Check that the calling convention and parameters of the PInvoke signature match the target unmanaged signature.
This exception is harmless and can be ignored. If you want to get rid of this exception, you can set this property to False (not recommended, since it will break the maximize function).
ui:WindowHelper.FixMaximizedWindow="False"
For a better solution, you can turn off the exception breaking in the Exception Settings window in Visual Studio:
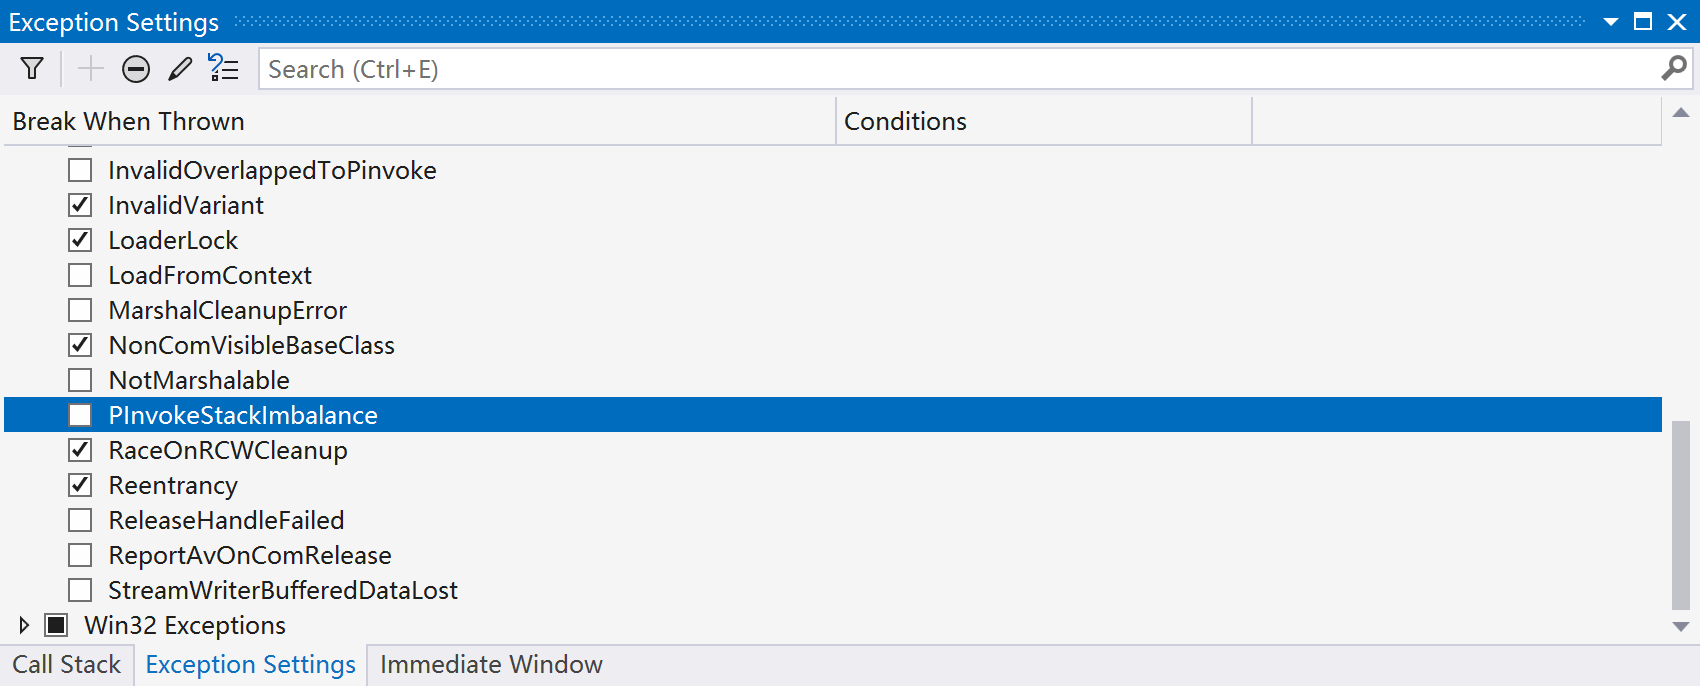
Or you can simply UNcheck Break when this exception type is thrown or CHECK (Except when throw from) iNKORE.UI.WPF.Modern.dll when this exception appears, this will also ignore the exception.
Customizations
Use the following classes to customize the window control along with the title bar: